Deploying Serverless Django with Zeit and RDS Postgres
We will see how to deploy a Django application using Zeit Now and use RDS Postgres as the DB.
Zeit Now is a serverless deployment platform with its own CLI and a desktop app.
RDS Postgres is the open source relational database for Postgres by AWS.
Get Zeit Now
1) First we have to create an account in Zeit.
2) Then we have to install the Now CLI or the Now Desktop App(which includes CLI) .
we can download the Now Desktop which does not require Node.js. Now Desktop comes with Now CLI (our command line interface)
or we can install Now Cli using npm
$ npm install -g now
To check if Now CLI has been installed
$ now --version
Go to Django app
After installing Zeit Now, let us set up our django project, here we used Pollsapi (https://github.com/agiliq/building-api-django) as the django project.
Configure Django Settings
We have to add our host to the ALLOWED_HOSTS in the setting.py file
...
ALLOWED_HOSTS = [".now.sh"]  # add this subdomain
Configure Django for S3
We will use AWS S3 bucket to serve our static files, so let us configure Django for S3
$ pip install django-s3-storage
and also add it in the requirements.txt file.
...
django-s3-storage==0.12.4
...
Now update the settings.py file to add ‘django_s3_storage’ to INSTALLED_APPS
INSTALLED_APPS = (
          ...,
          'django_s3_storage',
     )
and also add these lines at the bottom
S3_BUCKET = "now-staticfiles1234"

STATICFILES_STORAGE = "django_s3_storage.storage.StaticS3Storage"

AWS_S3_BUCKET_NAME_STATIC = S3_BUCKET

STATIC_URL = "https://%s.s3.amazonaws.com/" % S3_BUCKET
Push the static files to the cloud
$ python manage.py collectstatic
Setup now.json
Now go inside the pollsapi folder in this repo, and create a file named now.json, and add the following:
{
  "version": 2,
  "name": "django-pollsapi",
  "builds": [
    {
      "src": "index.py",
      "use": "@contextualist/python-wsgi",
      "config": { "maxLambdaSize": "60mb" }
    }
  ],
  "routes": [{ "src": "/.*", "dest": "/" }]
}
-
"version"Specifies the Now Platform version the deployment should use and to work with. Type is String. -
"name"is used to organise the deployment into a project. Is is also used as the perfix for all new deployment instances. Type is Number. -
"builds"Builders are modules that take a deployment’s source and return an output, consisting of either static files or dynamic Lambdas.The builds property is an array of objects where each object is a build step, including a src and a use property, at least. If our project has source files that require transformation to be served to users,
Buildersenable this ability when deploying.Builds object consists of:
"src"(String): A glob expression or pathname. If more than one file is resolved, one build will be created per matched file. It can include * and **."use"(String): A npm module to be installed by the build process. It can include a semver compatible version (e.g.: @org/proj@1)."config"(Object): Optionally, an object including arbitrary metadata(like maxLambdaSize etc) to be passed to the Builder.
We are using builder -
"@contextualist/python-wsgi"as we want python with wsgi. -
"routes"consists of a list of route definitions."src": A regular expression that matches each incoming pathname (excluding querystring)."dest": A destination pathname or full URL, including querystring, with the ability to embed capture groups
Let us create a file named index.py, and copy all lines from wsgi.py to this file
import os
from django.core.wsgi import get_wsgi_application

os.environ.setdefault("DJANGO_SETTINGS_MODULE", "pollsapi.settings")
app = get_wsgi_application()  # application = get_wsgi_application()
Now we have to rename application to app, as the builder will search for the app to run.
After this add these lines to the the index.py file
...
os.system("python manage.py migrate")
os.system("python manage.py runserver")
At present we cannot change the python version of the Zeit Now environment(which is python 3.4), but this feature will be added in the future.
Now deploy the app
$ now
> Deploying ~/building-api-django/pollsapi under [email protected]
> Using project django-pollsapi
> Synced 1 file (234B) [1s]
> https://django-pollsapi-4l2pyh2um.now.sh [v2] [in clipboard] [2s]
┌ index.py        Ready               [1m]
└── λ index.py (20.53MB) [sfo1]
> Success! Deployment ready [1m]
Now go to the url, we will see that our project is running

Now we have to link it with the Database
Linking with RDS Postgres
We are using AWS RDS Postgres as our Database.
So first create an RDS postgres instance (which also comes in Free tier)
and copy the endpoint (which we will use to link in the DATABASES in settings.py file)
so let us add postgres adapter to our requirements.txt file
psycopg2==2.7.7
and change the settings.py file for postgres
DATABASES = {
    'default': {
        'ENGINE': 'django.db.backends.postgresql',
        'NAME': 'nowdb', # dbname
        'USER': 'now_admin', # master username
        'PASSWORD': 'nowadmin', # master password
        'HOST': 'nowdb.chc62yjp9.us-east-2.rds.amazonaws.com', # Endpoint
        'PORT': '5432',
    }
}
But before using postgres in our Django App,
we have to first download a custom compiled psycopg2 C-library for Python from https://github.com/jkehler/awslambda-psycopg2
Using psycopg2 via requirements.txt will not sufficient for lambda, as psycopg2 C library for Python is missing in default lambda.
As Zeit Now uses AWS Lambda to deploy our project, we need to use this custom pre-compiled library to use postgres.
First we have to download the repository and copy the folder psycopg2-3.6 to our project and in the same level as our now.json and rename the folder from psycopg2-3.6 to psycopg2.
this will make our app work with the Postgres-DB
After this we have to create an admin-user for our django-app so that we can access the admin
$ cd polls
$ mkdir management
$ cd management
$ touch __init__.py
$ mkdir commands
$ cd commands
$ touch __init__.py
$ touch create_admin_user.py
# polls/management/commands/create_admin_user.py
import sys
import logging

from django.core.management.base import BaseCommand, CommandError
from django.contrib.auth.models import User
from django.conf import settings


class Command(BaseCommand):
    help = 'Creates the initial admin user'

    def handle(self, *args, **options):
        if User.objects.filter(username="admin").exists():
            print("admin exists")
        else:
            u = User(username='admin')
            u.set_password('adminpass')
            u.is_superuser = True
            u.is_staff = True
            u.save()
            print("admin created")
        sys.exit()
this command will create the admin user if it does not exists
let us update the index.py by adding the command to create the admin user below the migrate command
...
os.system("python manage.py migrate")
os.system("python manage.py create_admin_user")     # add this line
os.system("python manage.py runserver")
Now let us deploy the app with the updated database settings and the custom postgres library
$ now
> Deploying ~/building-api-django/pollsapi under [email protected]
> Using project django-pollsapi
> Synced 1 file (234B) [1s]
> https://django-pollsapi-1asdsdfum.now.sh [v2] [in clipboard] [2s]
┌ index.py        Ready               [1m]
└── λ index.py (20.53MB) [sfo1]
> Success! Deployment ready [1m]
we can check the logs of the deployment by adding /_logs after our url
like https://django-pollsapi-1asdsdfum.now.sh/_logs
Let us check the url
https://django-pollsapi-1asdsdfum.now.sh
https://django-pollsapi-1asdsdfum.now.sh/admin
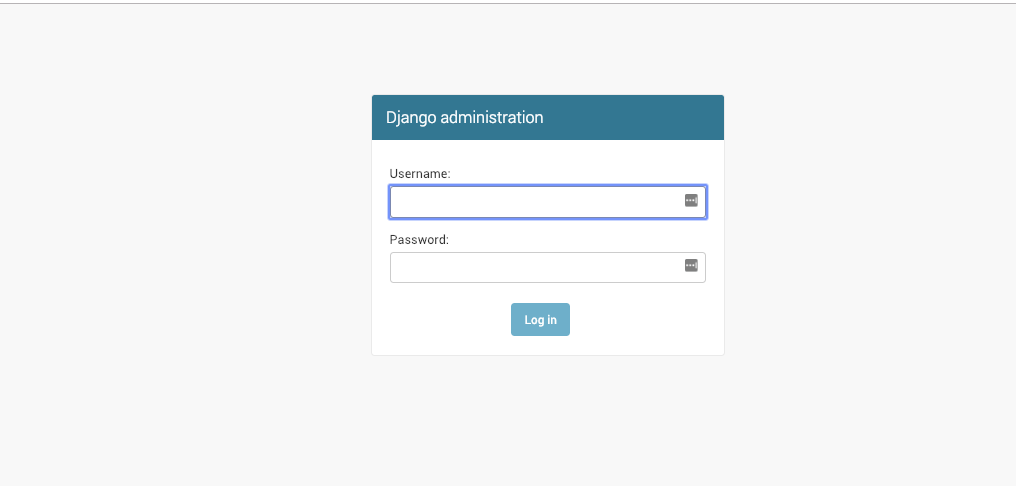
Now let us login to our admin
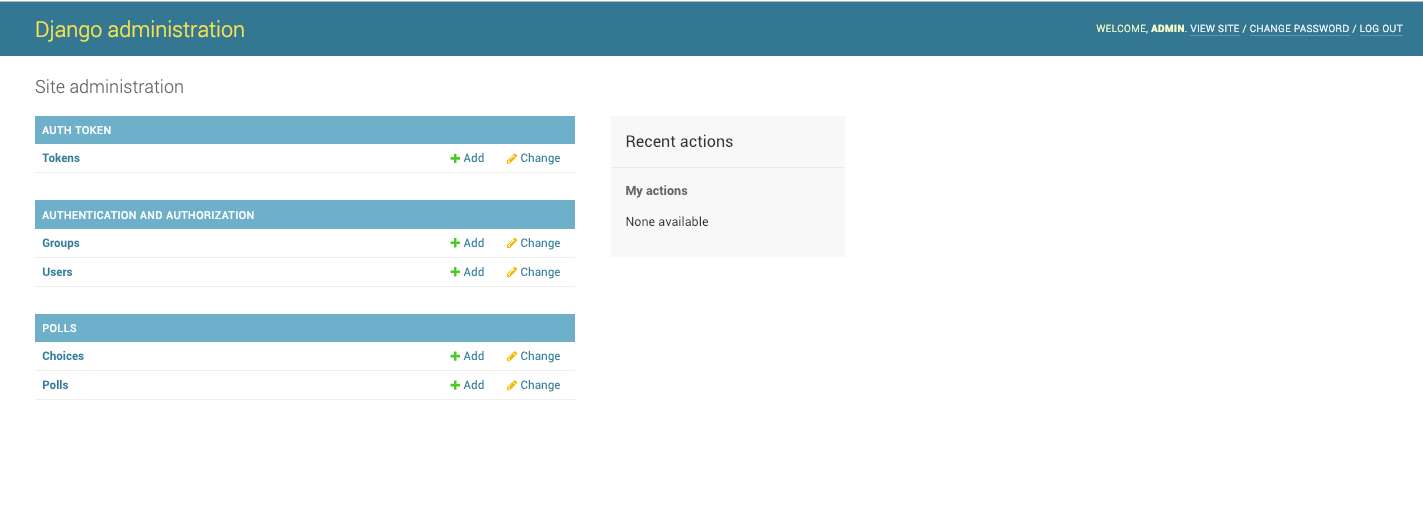
Now our Django app is linked to postgres and deployed using Zeit Now.
This is part 2 of Serverless Deployments for Django,
Check out part 1 Deploying completely serverless Django with Zappa and Aurora Serverless
Check out part 3 Deploying completely serverless Django with Apex Up and Aurora Serverless
Check out part 4 Deploying Django in AWS Fargate and using Aurora Serverless as the database
Thank you for reading the Agiliq blog. This article was written by anmol akhilesh on Feb 11, 2019 in Serverless Django , Zeit , Lambda , AWS RDS , Postgres .
You can subscribe ⚛ to our blog.
We love building amazing apps for web and mobile for our clients. If you are looking for development help, contact us today ✉.
Would you like to download 10+ free Django and Python books? Get them here