This tutorial should help to deploy a django application on a Kubernetes Cluster. Before starting this tutorial, the user is expected to have basic knowledge of GKE, Django, PostgreSQL and Docker
Understanding Kubernetes
Before we jump into the tutorial, lets have a basic understanding of what kubernetes is and how will it be useful for us to deploy our django application.
What is Kubernetes?
Kubernetes, at its basic level, is a system for running & co-ordinating containerized applications across a cluster of machines. It is a platform designed to completely manage the life cycle of containerized applications and services using methods that provide predictability, scalability, and high availability.
To know more about kubernetes, visit here
Moving on, as a part of this tutorial we’ll be deploying Polls API, from here
Local Deployment of Polls API
Let’s first clone our sample django application from
git clone https://github.com/yvsssantosh/django-polls-rest.git
Just to make sure we’re on master branch, run the command git checkout master
To test the application locally, let’s create a virtual environment, and test the server
# Creating a virtual environment
mkvirtualenv pollsapi

# Installing current project requirements
pip install -r requirements.txt

# Connect to postgres
export POSTGRES_USER=pollsdb
export POSTGRES_DB=polls_admin
export POSTGRES_PASSWORD=polls_password
export POLLSAPI_PG_HOST=127.0.0.1

# Running migrations
python manage.py migrate

# Start the local server
python manage.py runserver 0.0.0.0:8000
Now that we have tested on local server, lets create a new kubernetes cluster and deploy our application on it.
Setting up Google Cloud SDK
For instructions to setup Google Cloud SDK navigate to https://cloud.google.com/sdk
Read the installation instructions and setup accordingly. Once done, check the installation status by running the command
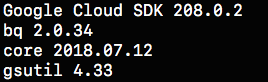
$ gcloud -v
It should show an output similar to this:
Setting up kubectl command line
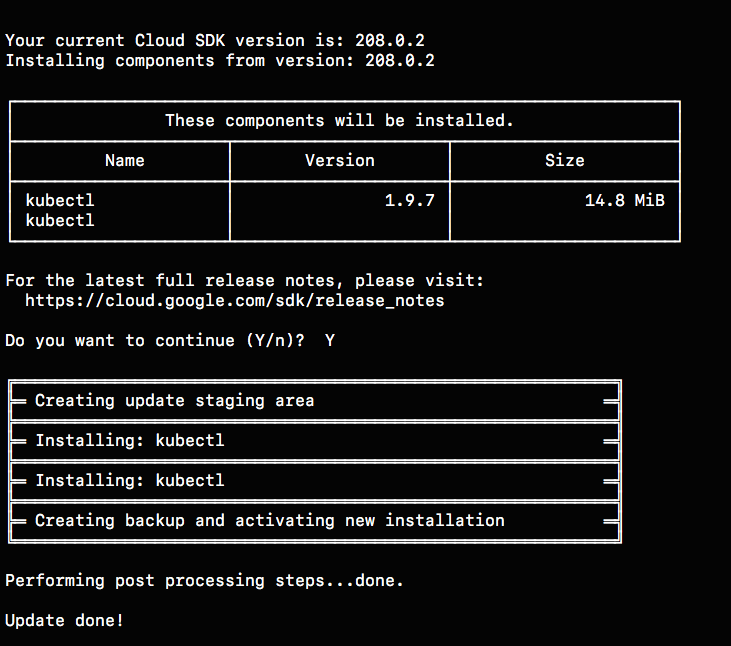
To manage and maintain a kubernetes cluster from our desktop/laptop we need to setup kubectl command line. It can be done using the command
gcloud components install kubectl
Once the installation finishes, we should see something like this:
Creating a kubernetes cluster
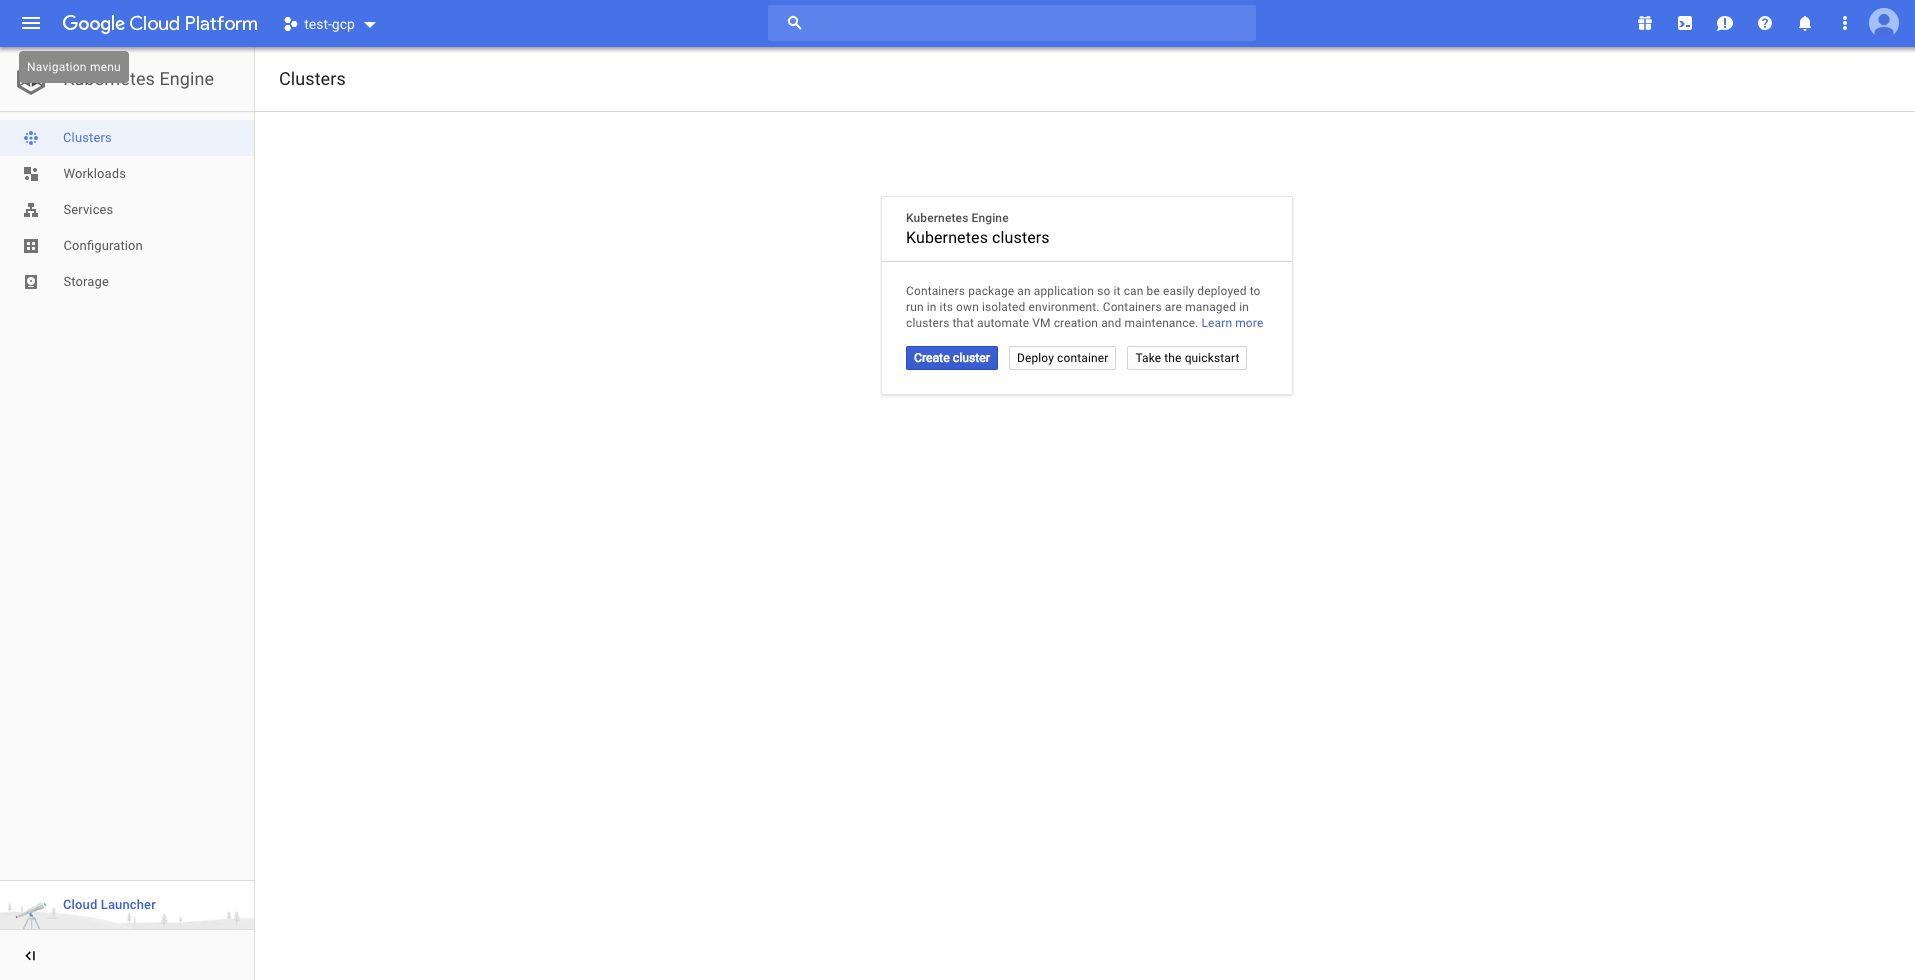
Navigate to https://console.cloud.google.com. Select an existing project or create a new one, based on requirement.
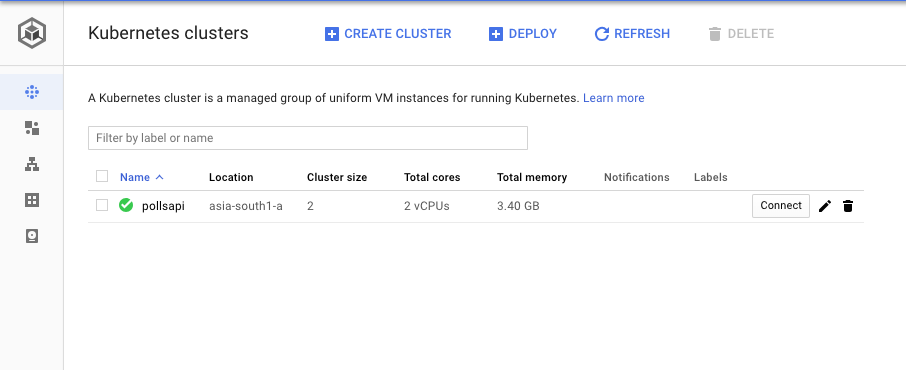
Then click on Kubernetes Engine from the navigate menu which would result in the following page
Create a new cluster. I’ve created a cluster based on the following settings
Cluster name        :   pollsapi
Location            :   Zonal
Zone                :   asia-south1-a
Cluster Version     :   1.9.7-gke.3 (default)
Machine Type        :   Small (1 shared CPU with 1.7GB Memory)
Node Image          :   Core OS (cos)
Size                :   2
Boot Disk Size      :   20GB per Node

#######################################################################################
## Only for testing purposes as preemptible nodes are NOT recommended for Production ##
#######################################################################################

Preemptible Nodes   :   Yes
Please be patient as it takes some time to create the cluster
Once the cluster is created, we’ll be able to see a tick mark beside the name of the cluster.
Now click on Connect and copy the command shown, and paste it in terminal.

Once connected run the command kubectl get all.

Now that the cluster is up and running, lets package our application into a containerized one using docker.
Setting up Google Container Registry using Docker
Configuring docker with gcloud:
gcloud auth config-docker
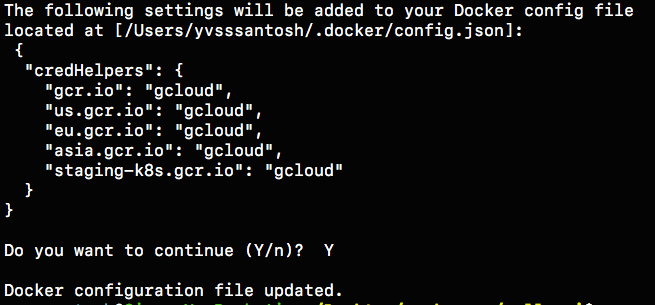
Once docker is configured, we are ready to build the image.
# Build the image
# Common format to push an image to google container registry is gcr.io/$PROJECT_ID/$IMAGE_NAME:$TAG

export PROJECT_ID=YOUR_PROJECT_ID_HERE
export IMAGE_NAME=YOUR_IMAGE_NAME_HERE
export TAG=YOUR_IMAGE_TAG (optional, default is `latest`)

# In my case, giving the tag as v1.0.0 (default is latest)
docker build -t gcr.io/test-gcp-208915/pollsapi:v1.0.0 .
# (Note the . in the end)

# Push the image
docker push gcr.io/test-gcp-208915/pollsapi:v1.0.0
Once the image has been pushed, paste the push URL in browser. It will ask you to sign in into google account which has been used to configure this cluster (if not already signed in).
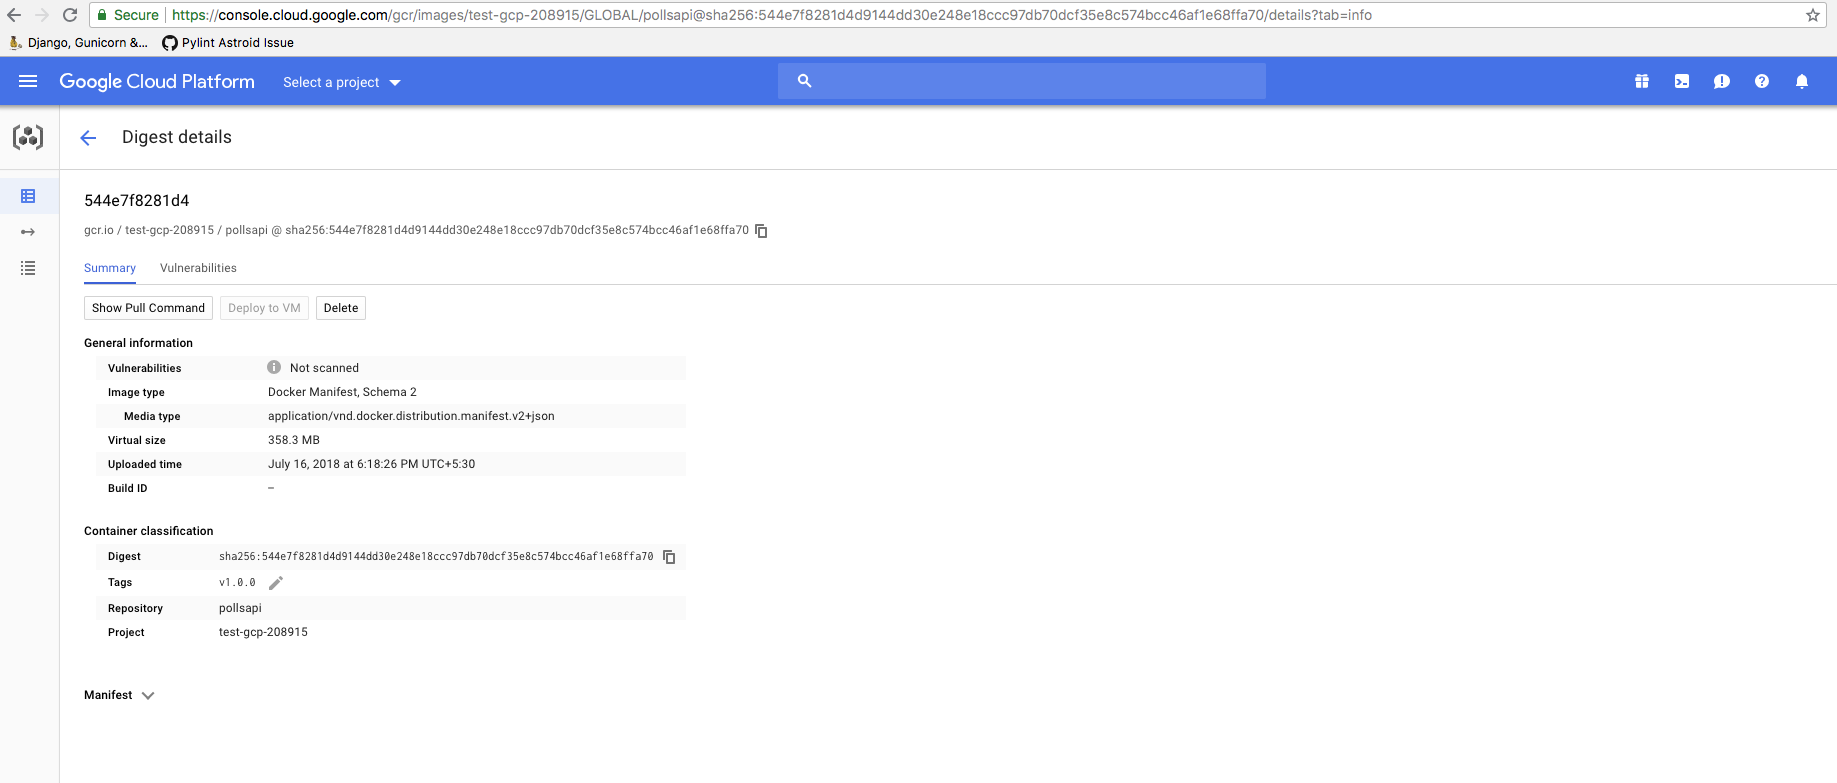
Since our image has been uploaded sucessfully, we need to setup the database next.
Setting up Helm Package Manager
The simplest way of setting up PostgreSQL on kubernetes is with the help of Helm Package Manager
For mac users, the command to install helm (using brew) is:
# Install Helm
brew install kubernetes-helm

# Setup Helm
helm init
Note: Often during package installation i.e.,helm install --name MY_RELEASE stable/PACKAGE_NAMEa common error is generated explaining tiller not having access to create cluster role bindings. This usually happens if the user logged inside Google Cloud SDK doesn’t have proper access to create role bindings or issues with helm installation.
If that error occurs, then run the following commands:
# Completely uninstall helm
helm reset --force

# Remove directories created by helm
sudo rm -r ~/.helm
Once helm is completely removed, create a clusterrolebinding and a serviceaccount for helm using the code below
rbac-config.yaml
apiVersion: v1
kind: ServiceAccount
metadata:
  name: tiller
  namespace: kube-system
---
apiVersion: rbac.authorization.k8s.io/v1beta1
kind: ClusterRoleBinding
metadata:
  name: tiller
roleRef:
  apiGroup: rbac.authorization.k8s.io
  kind: ClusterRole
  name: cluster-admin
subjects:
  - kind: ServiceAccount
    name: tiller
    namespace: kube-system
Create a file named rbac-config.yaml and run the following using kubectl command line
# Creating Service Account and ClusterRoleBinding Tiller
kubectl create -f rbac-config.yaml
Once this is sucessfully done, initialize helm using
helm init --service-account tiller
And then run the command to install Postgresql in our cluster, as previously mentioned.
Setting up PostgreSQL
Before we setup PostgreSQL, lets create a namespace databases
# Why create namespace databases?
# This command is totally optional, but this is prefered this because I place all the
# databases created in a single namespace so that they'll be easy to access.
kubectl create namespace databases

# Before creating PostgreSQL using helm, lets understand few basics.

# Default command of creation enables Persistent Volume Claim (PVC)
# Instead of default postgres username, we are setting custom user.
# So replace YOUR_POSTGRES_USER with desired username, in my case polls_admin &
# MY_RELEASE_NAME, which in my case is pollsdb &
# MY_DATABASE_NAME, which in my case is pollsdb

# helm install --name MY_RELEASE_NAME stable/postgresql --set postgresUser=YOUR_POSTGRES_USER,postgresDatabase=MY_DATABASE_NAME --namespace databases

helm install --name pollsdb stable/postgresql --set postgresUser=polls_admin,postgresDatabase=pollsdb --namespace databases

# If user wishes not to have a separate namespace then just ignore the last two words
# i.e. --namespace databases
For more options on customizing postgres with custom parameters, see here
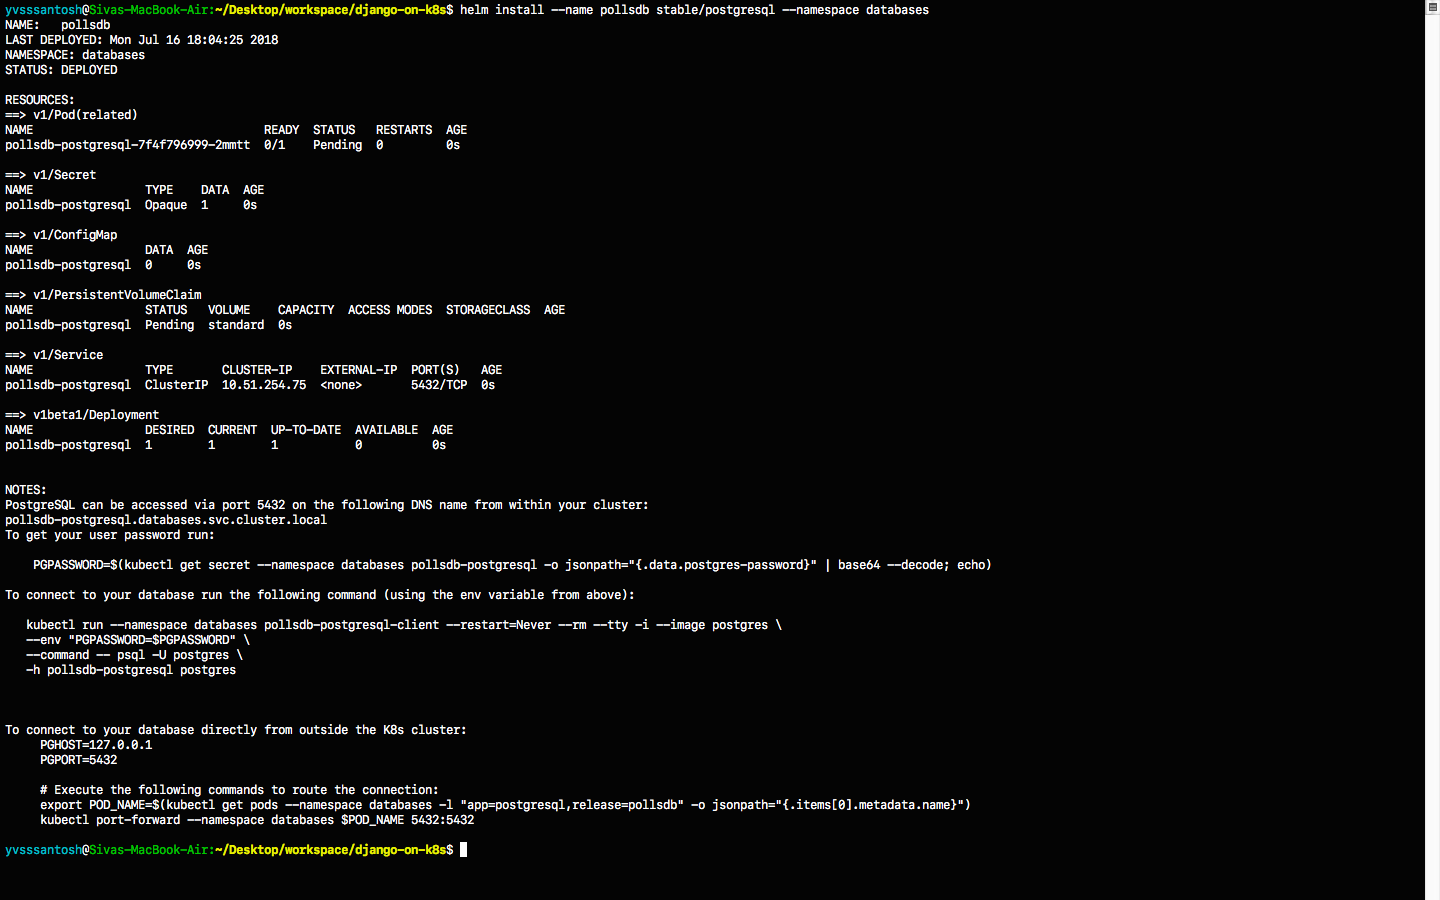 DO NOT FORGET to take a note of PGPASSWORD as seen in the NOTES section (above image) once postgres has been created
# Saving password of PostgreSQL into environemt varialble $PGPASSWORD
PGPASSWORD=$(kubectl get secret --namespace databases pollsdb-postgresql -o jsonpath="{.data.postgres-password}" | base64 --decode; echo)
# Why save the password?
# Since we have created a separate namespace for databases, secrets from one namespaces cannot be accessed from another
# So in order to access the postgres password in the default namespace, we must create a new secret
# Let's first convert our password into base64 encoding.
echo -n $PGPASSWORD | base64
# MUST DO : Copy the generated value and replace it with `YOUR_ENCODED_PASSWORD` in the `polls-password-secret.yml`. Then create the secret.
kubectl create -f pollsdb-password-secret.yml
# Now that the secret has been setup, lets migrate the data.
kubectl create -f polls-migration.yml
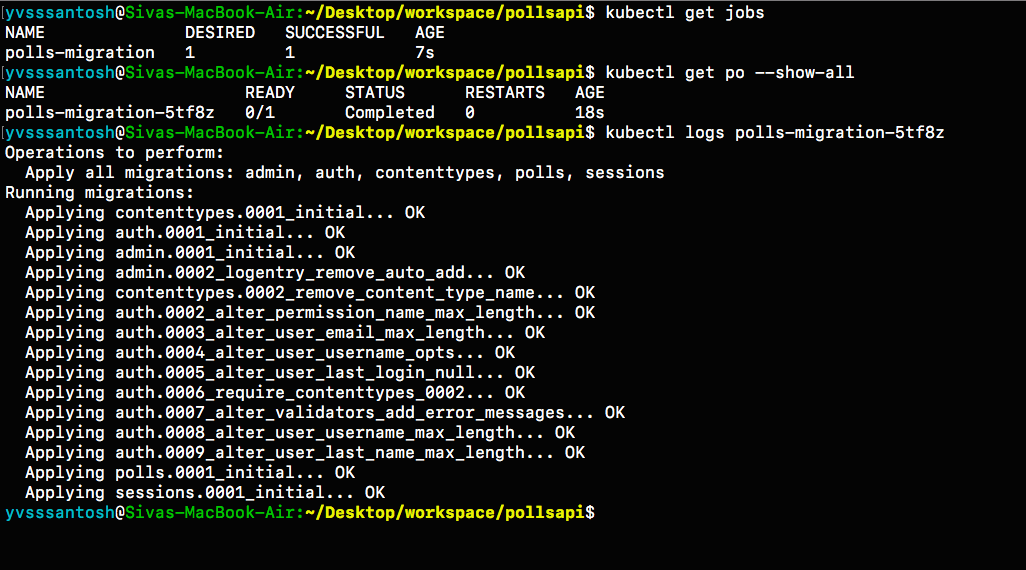
# Wait for a minute and check the status of the migration using folling commands.
kubectl get jobs
# In order to check the logs, identify the pod running the pod running migration.
kubectl get pods --show-all
# Check the logs of the pod
# kubectl logs POD_NAME
kubectl logs polls-migration-5tf8z
# Since the jobs have passed, there is no need for them to exist.
# We can just delete the jobs using
kubectl delete -f polls-migration.yml
Serving Static Files
Now that we have the database up and running with our migrations, lets setup our static files. Rather than setting up a separate NGINX server to serve static files, it’d be much simpler, secure & faster to use Google Cloud Storage as a provider to serve static files.
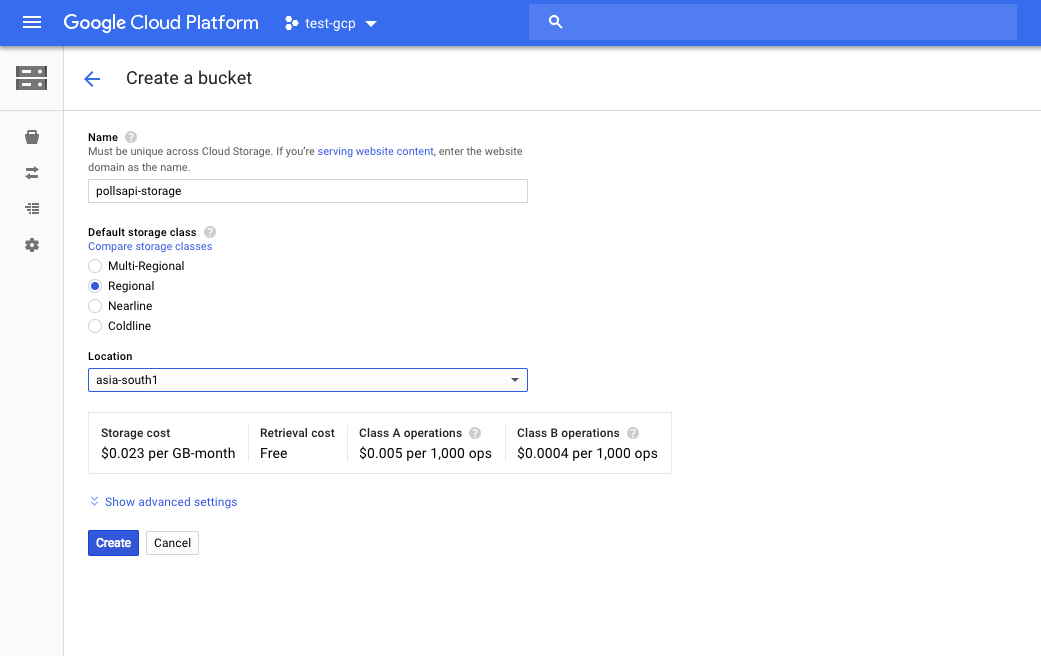
Let’s first create a bucket in Google Cloud Storage. Visit https://console.cloud.google.com/storage
Make sure to the check if the right project is selected.
I’ve created a bucket using the following settings:
Name of Bucket          :   pollsapi-storage
Default Storage Class   :   Regional
Location                :   asia-south1 (Closest to my location)
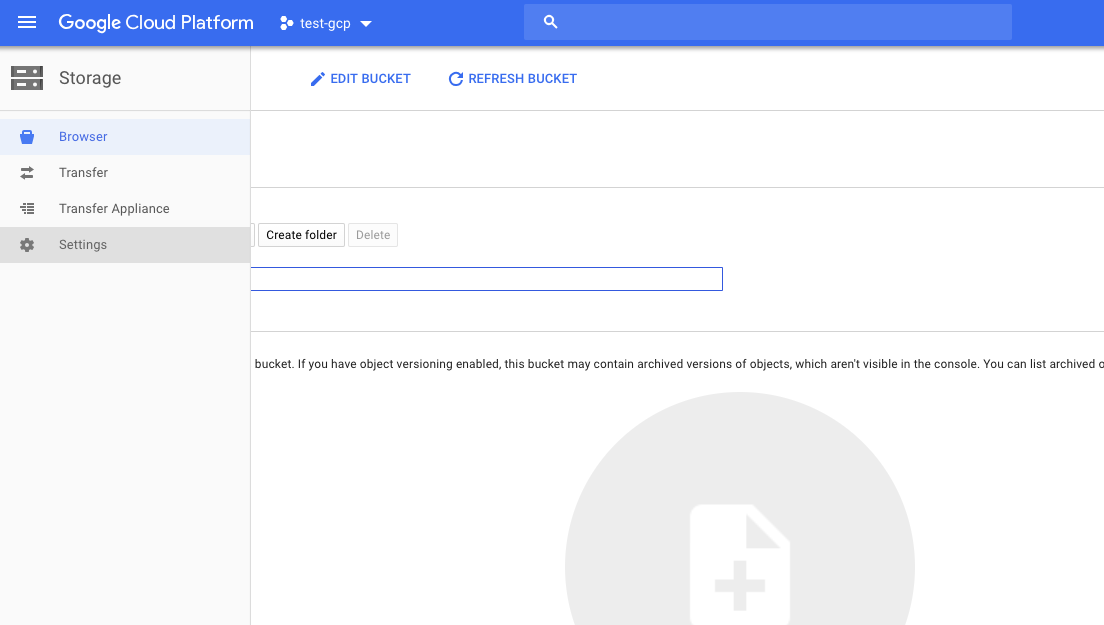
Once the bucket is created, navigate to the settings icon as shown below
In the interoperability tab, create a new key. This key is required to let our django application send static files to our bucket.
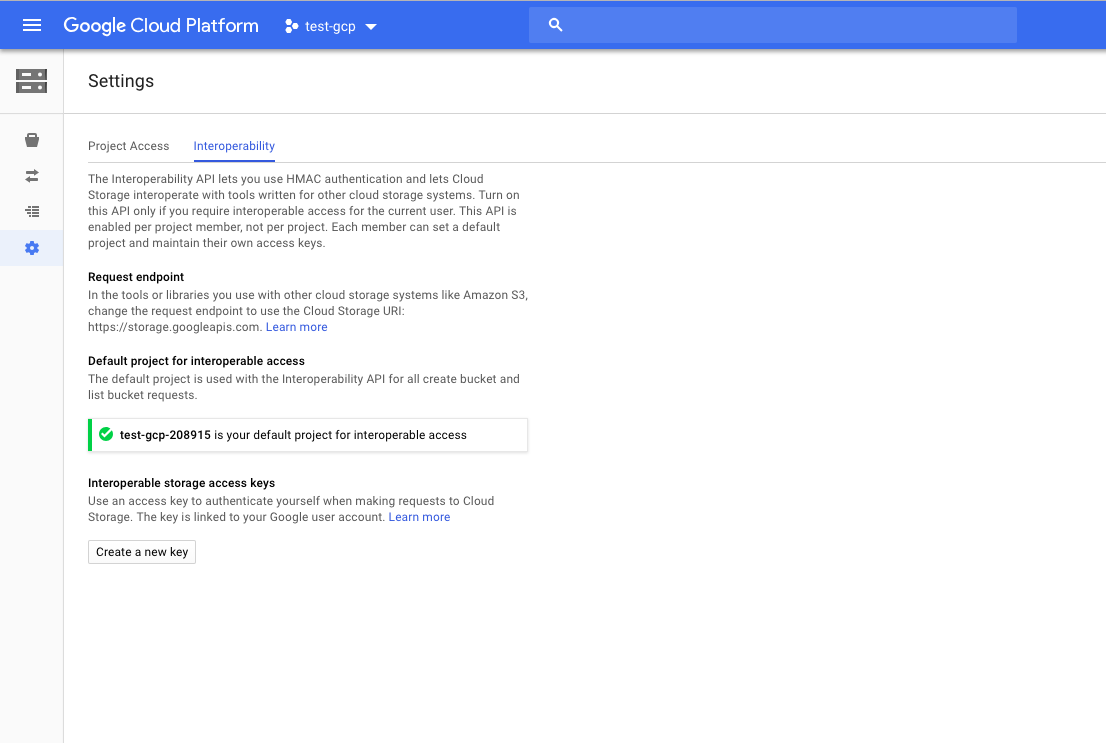
Now that we have ACCESS_KEY, ACCESS_SECRET and BUCKET_NAME, lets create a secrets file in kubernetes, so that we can directly use these as environment variables in our django application.
# Lets first encode our secrets into base64 format

echo -n 'YOUR_SECRET_ACCESS_KEY_ID_HERE' | base64

## Repeat the same for SECRET_ACCESS_KEY and BUCKET_NAME
Once we have the three generated values, replace them in cloud-storage-secrets.yml. After replacing the values with appropriate ones, lets create our secret in kubernetes.
# Creating cloud storage secret

kubectl create -f cloud-storage-secrets.yml
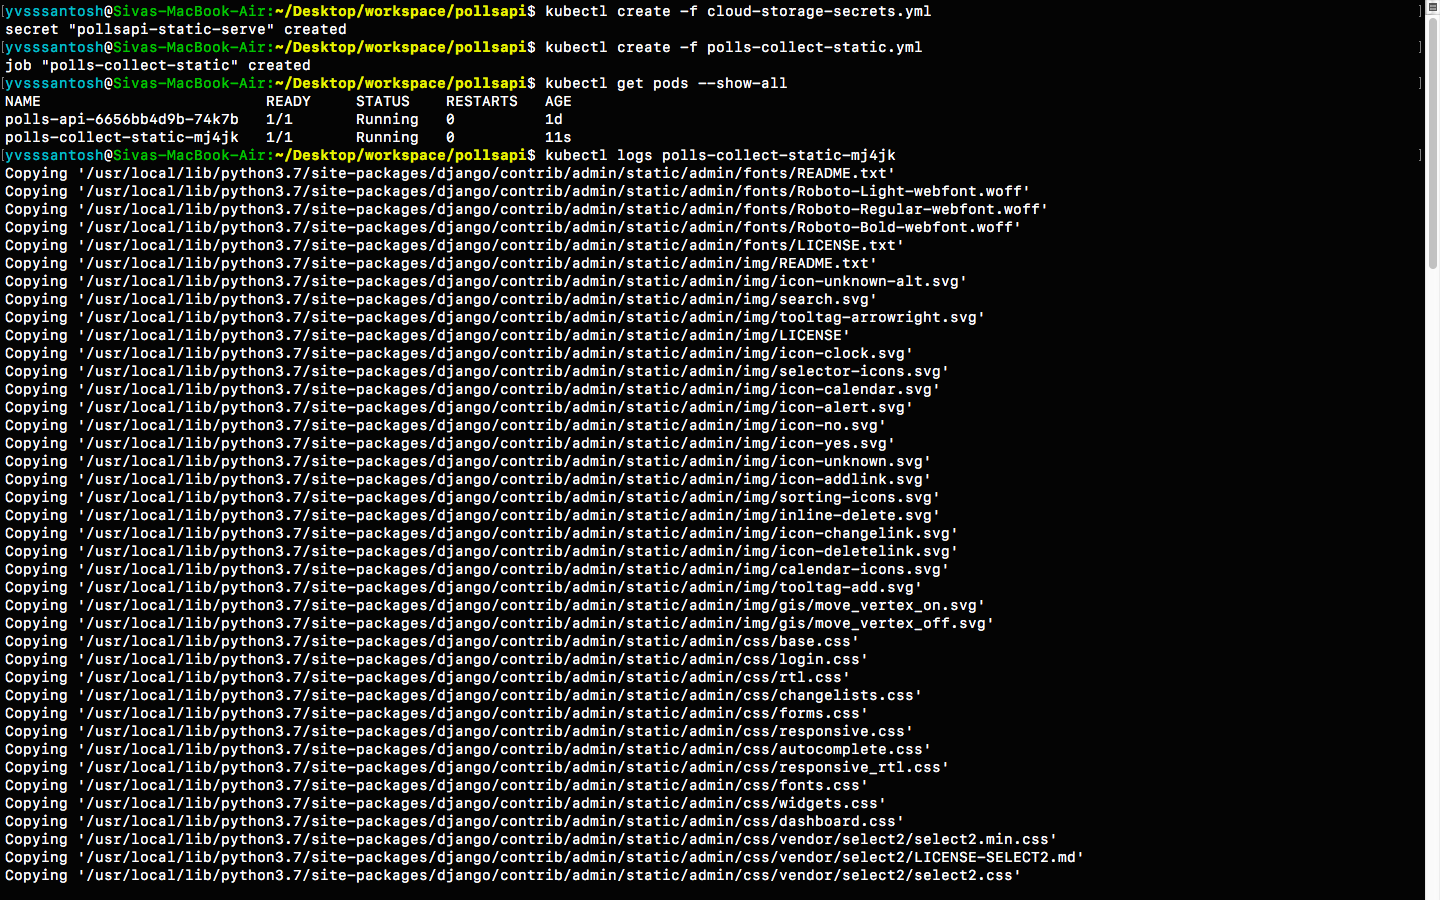
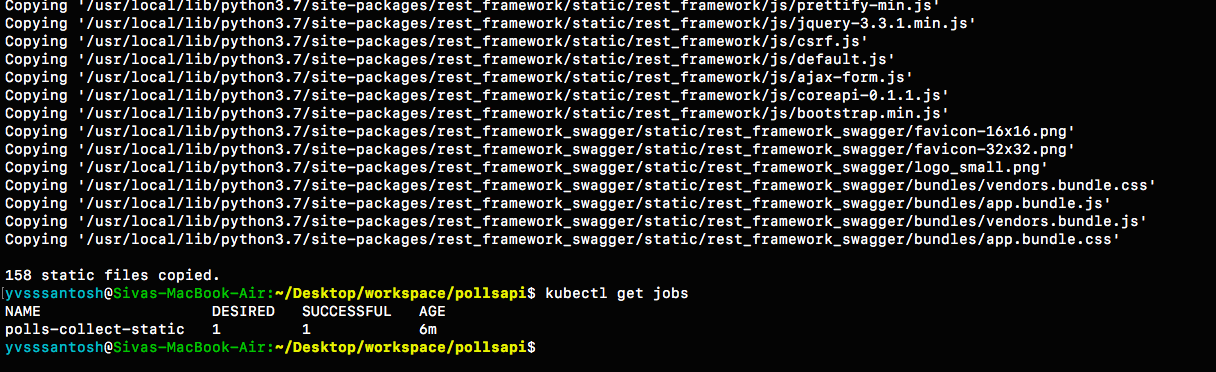
Now that the secrets are setup sucessfully, lets run the Job polls-collect-static.yml in order to collect static files.
kubectl create -f polls-collect-static.yml

# Note : It will take some time to collect the static files, as they are being uploaded
# to our bucket from the batch job which we created just now.
# We can just check the status of static files by either checking the logs
# or by checking the job status itself
We have sucessfully setup static files in our application. But the major question is:
How are the static files being served?
To answer that question, lets see a small code snippet below
# First, the packages Boto & Django Storages are required. Lets install them
# These packages help us to connect to Google Cloud Storage
pip install boto django-storages

# Check the following snippet now (from settings.py file under the STATIC_FILES_SETTINGS)
DEFAULT_FILE_STORAGE = 'storages.backends.gs.GSBotoStorage'
STATICFILES_STORAGE = 'storages.backends.gs.GSBotoStorage'

GS_ACCESS_KEY_ID = os.environ.get('GS_ACCESS_KEY_ID', None)
GS_SECRET_ACCESS_KEY = os.environ.get('GS_SECRET_ACCESS_KEY', None)
GS_BUCKET_NAME = os.environ.get('GS_BUCKET_NAME', None)

# Here we are configuring Google Cloud Storage as our default storage provider.
# So whenever we run python manage.py collectstatic, all the static files
# will be uploaded/updated in our Google Cloud Storage.
# This also makes sure that all the static files (when required), will be served
# from the location specified.

# GS_ACCESS_KEY_ID, GS_SECRET_ACCESS_KEY and GS_BUCKET_NAME are the environment
# variables which were created in `cloud-storage-secrets.yml` and are passed to our
# application when the yaml file has been created.
Setting up Django Application
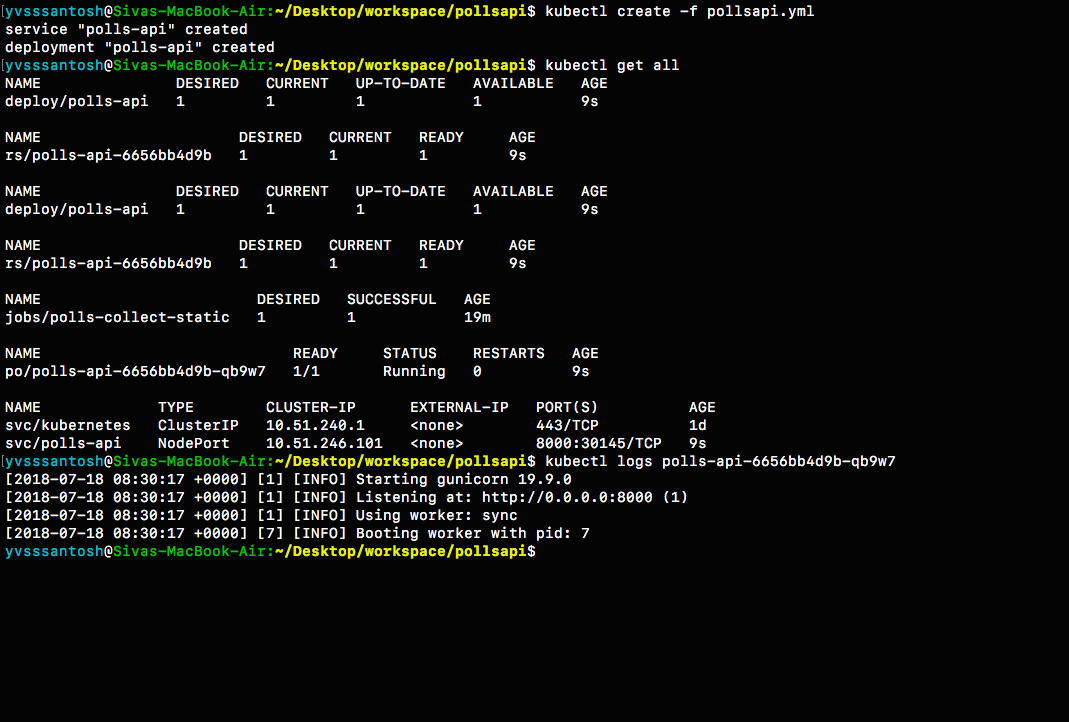
Now that we have the database ready with migrations, collected staticfiles, lets start our application.
# Start application
kubectl create -f pollsapi.yml
Note:
-
Usually, we run the server using
python manage.py runserver. This isNOT RECOMMENDEDfor production purposes because of security concerns and extra memory usage. More on this can be found here Keeping that in mind, this tutorial usesgunicornserver to run the application. -
The service type is NodePort for our application, which means that we’ll be able to access our application once we expose it using an Ingress.
Exposing our Application
Lets create an Ingress to expose our application.
kubectl create -f pollsapi-ingress.yml
Note that creating an ingress may take atleast 5 minutes, or sometimes even more. Please be patient while an ingress is being created
To check the status of the ingress, see below
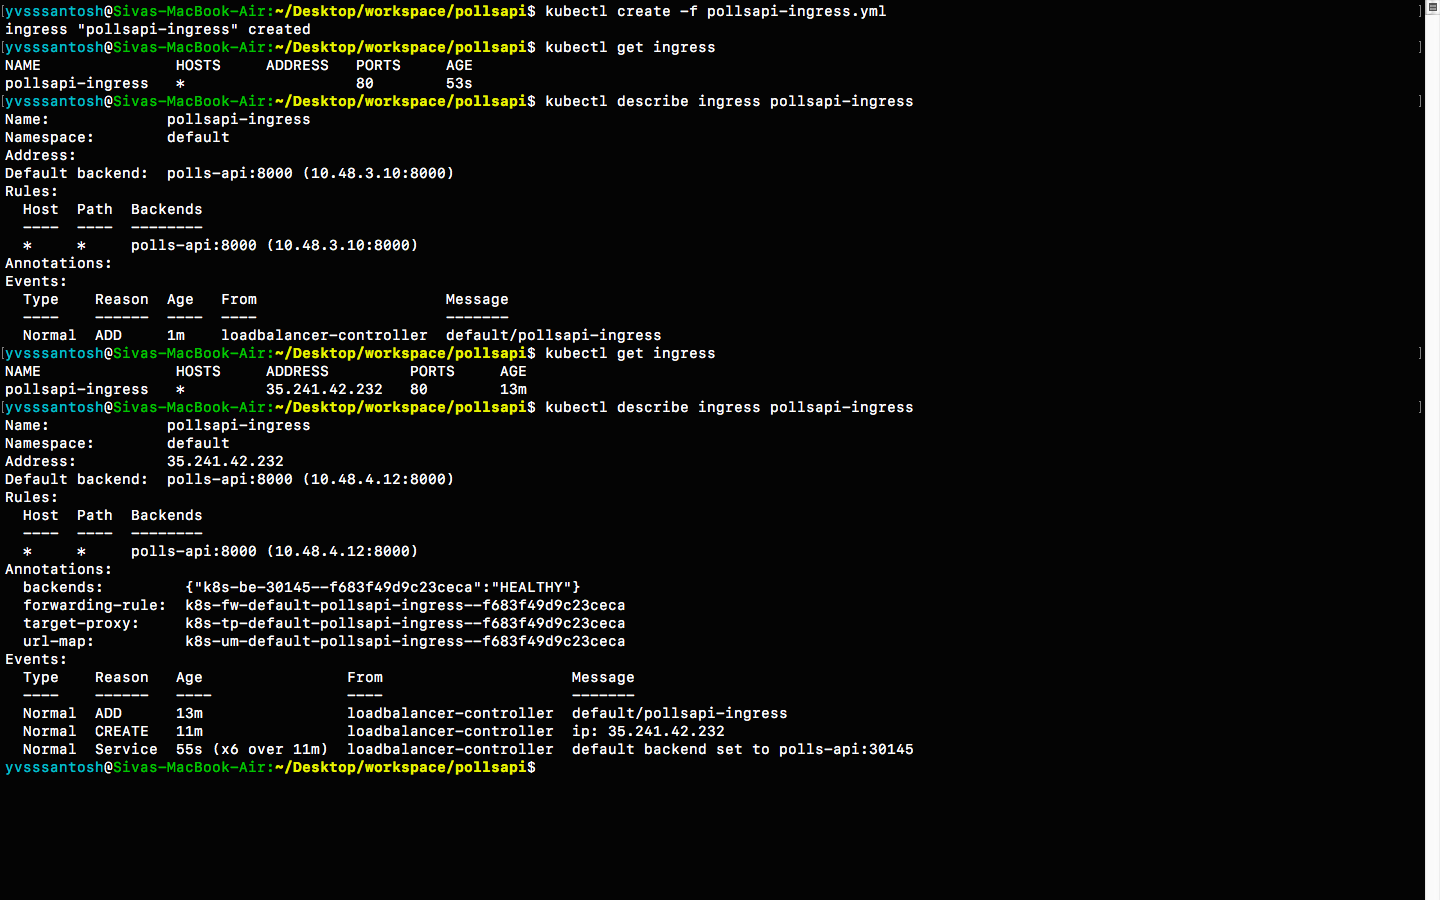
As expected, it took around 10 minutes for the ingress to setup properly.
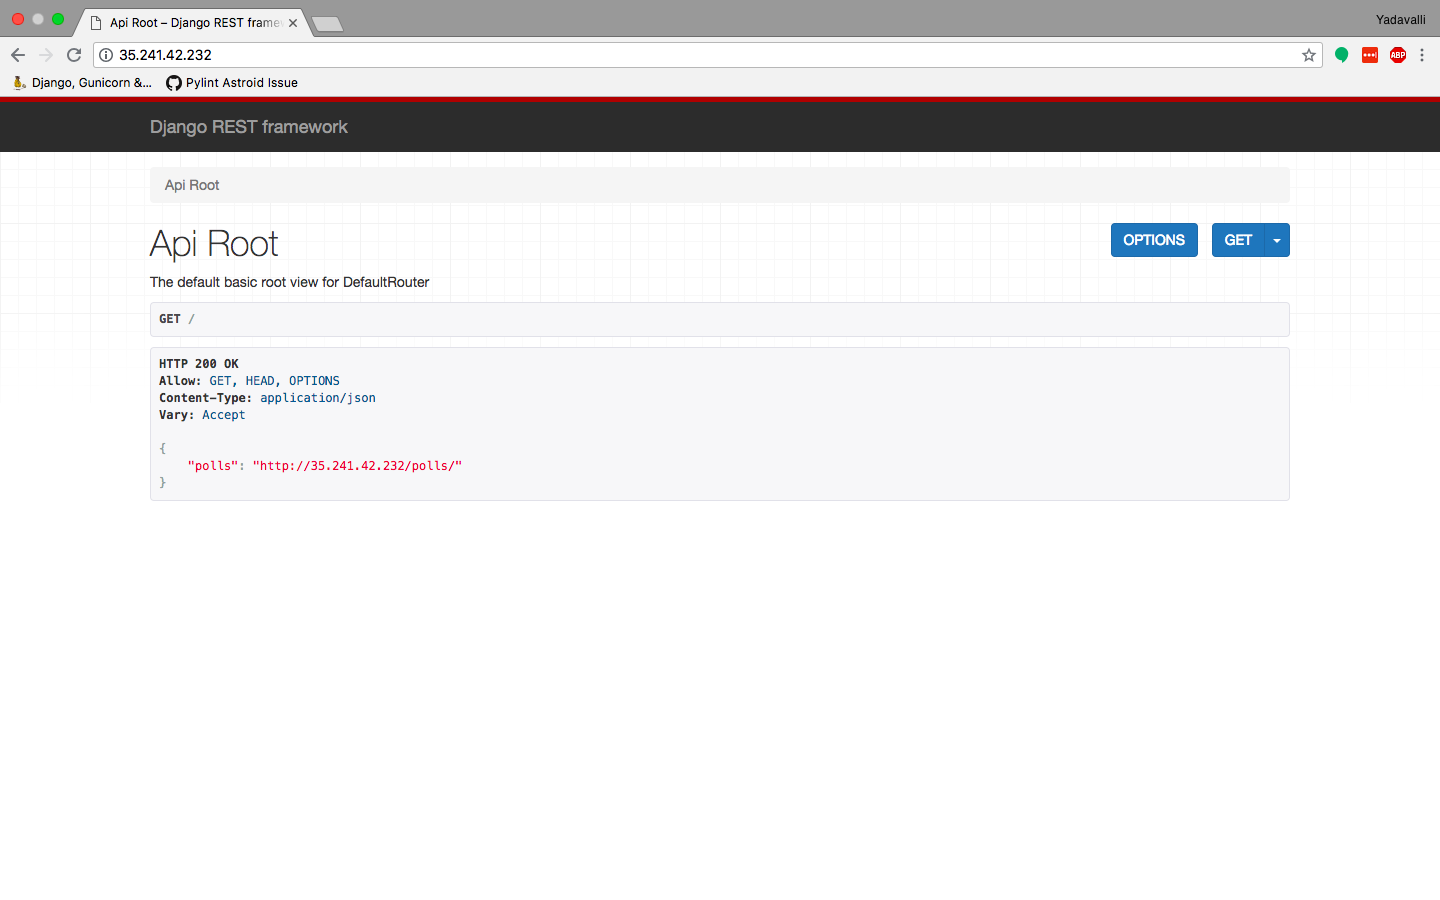
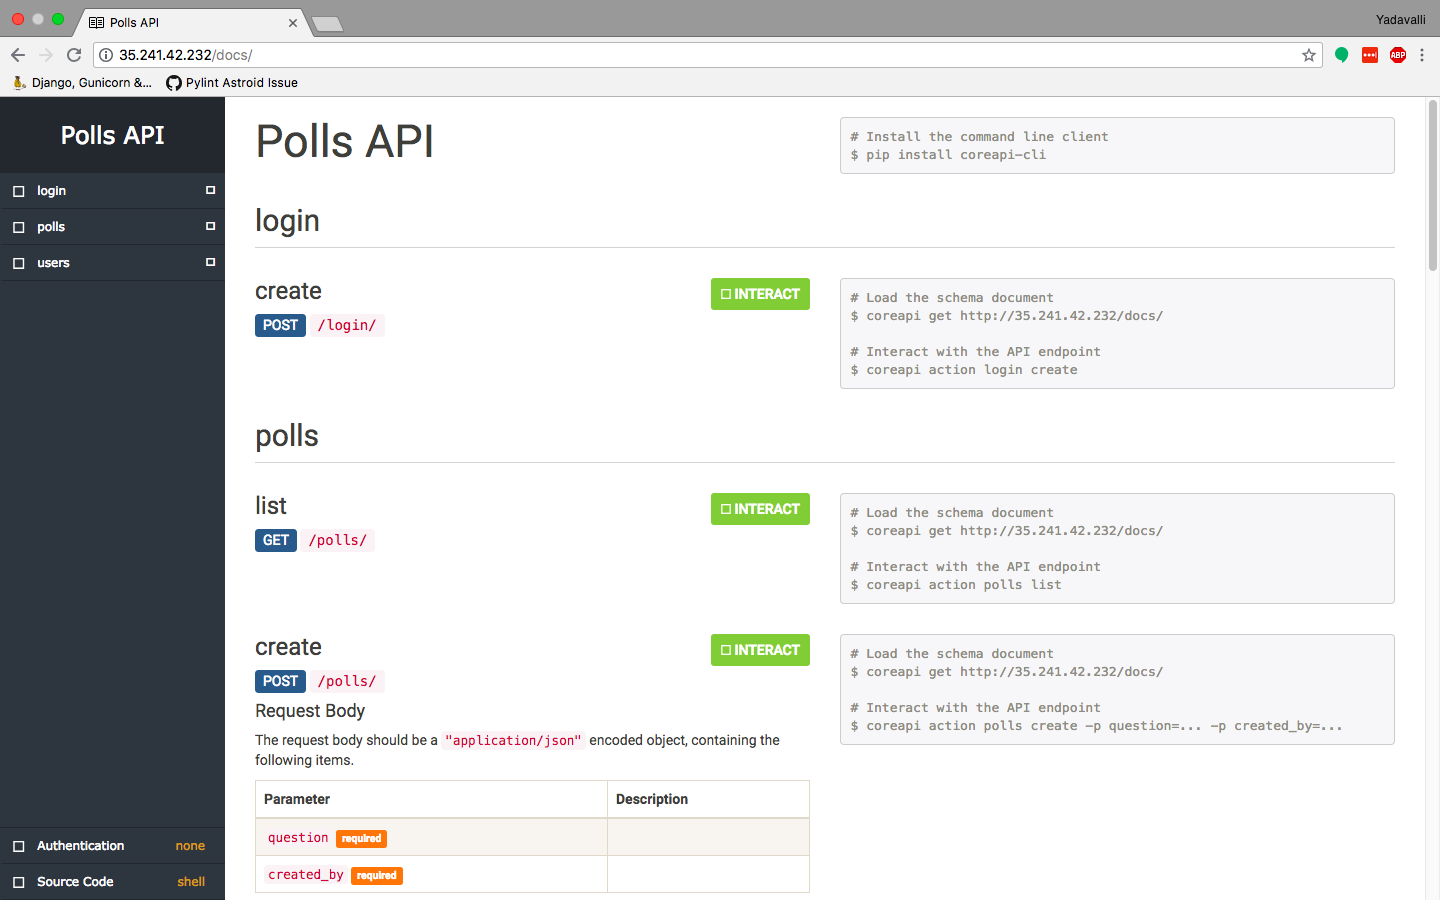
Navigate to the ingress address generated i.e. http://35.241.42.232/ in order to access our application.
Documentation for Polls API
For any queries, please create a new issue here
Thank you for reading the Agiliq blog. This article was written by yvsssantosh on Jul 18, 2018 in python , django , kubernetes , postgresql , docker .
You can subscribe ⚛ to our blog.
We love building amazing apps for web and mobile for our clients. If you are looking for development help, contact us today ✉.
Would you like to download 10+ free Django and Python books? Get them here